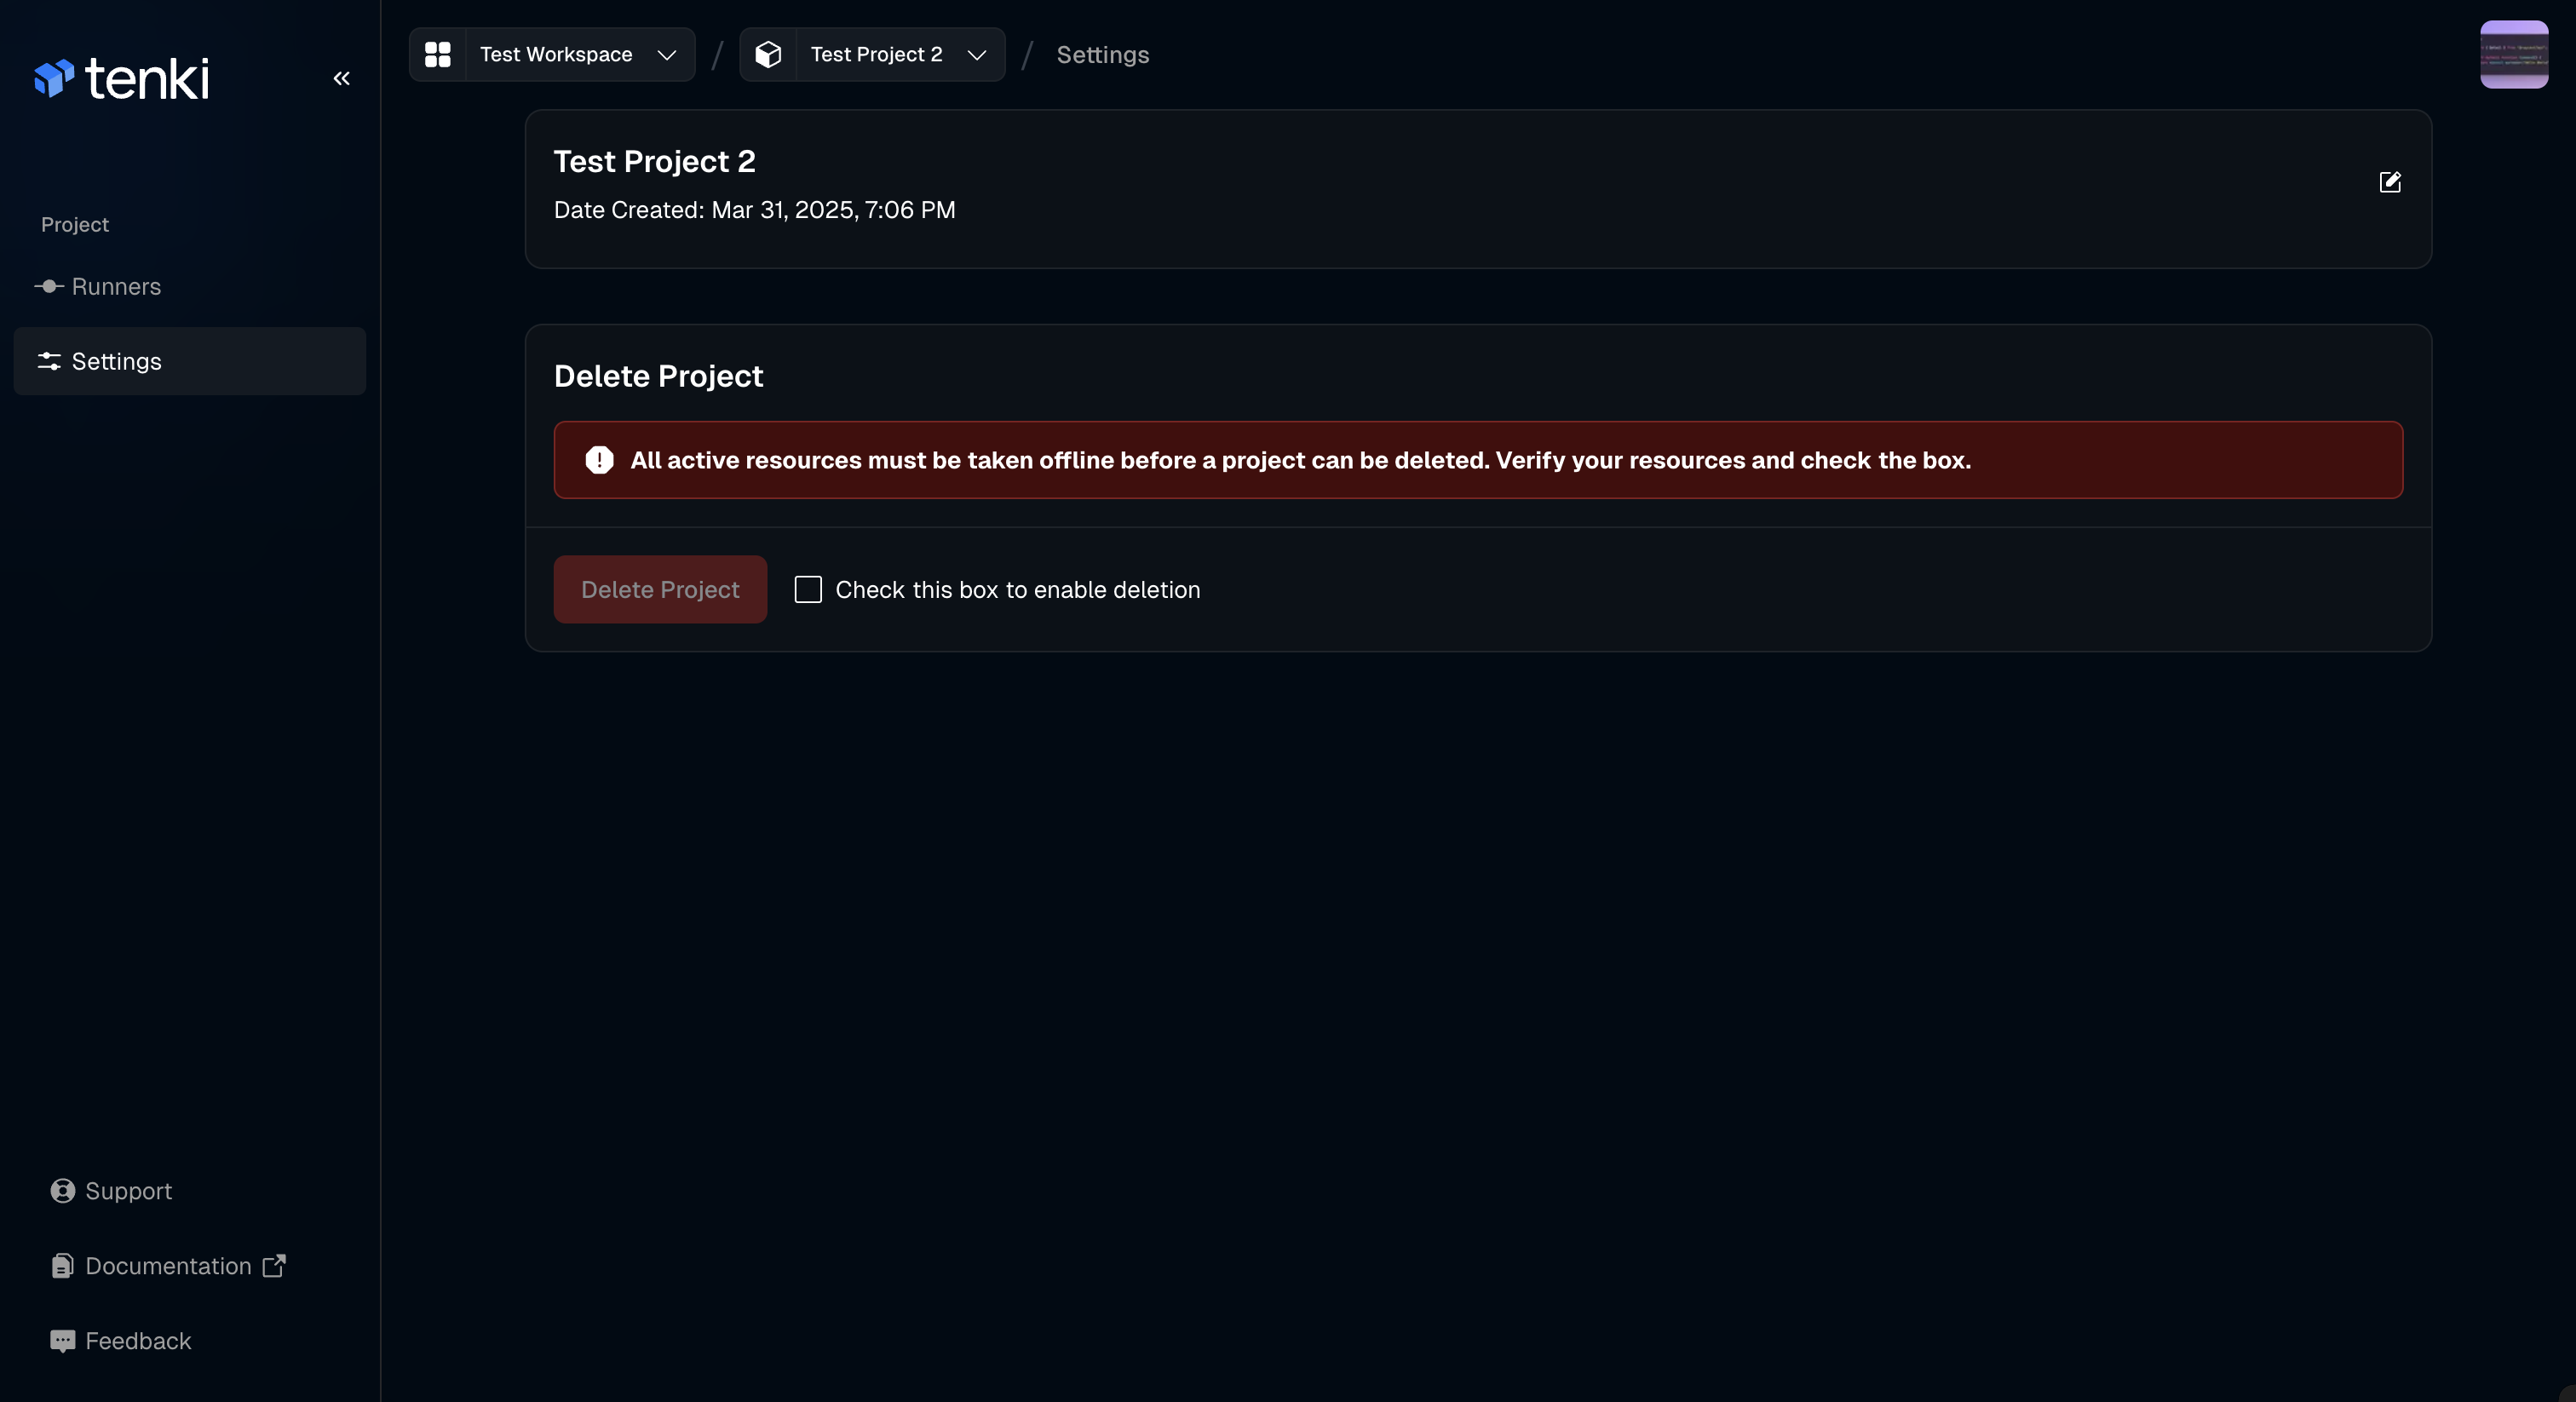
Manage Members and Settings
Manage Tenki Cloud members, projects, and workspace settings. Invite team members, assign roles, & configure your cloud environment for peak collaboration.
Members Management
This section allows you to manage user access across your Workspace and Projects from inviting new members to adjusting roles or removing users as needed. It provides centralized control over who can access and collaborate within your environment.
How to Invite new Members
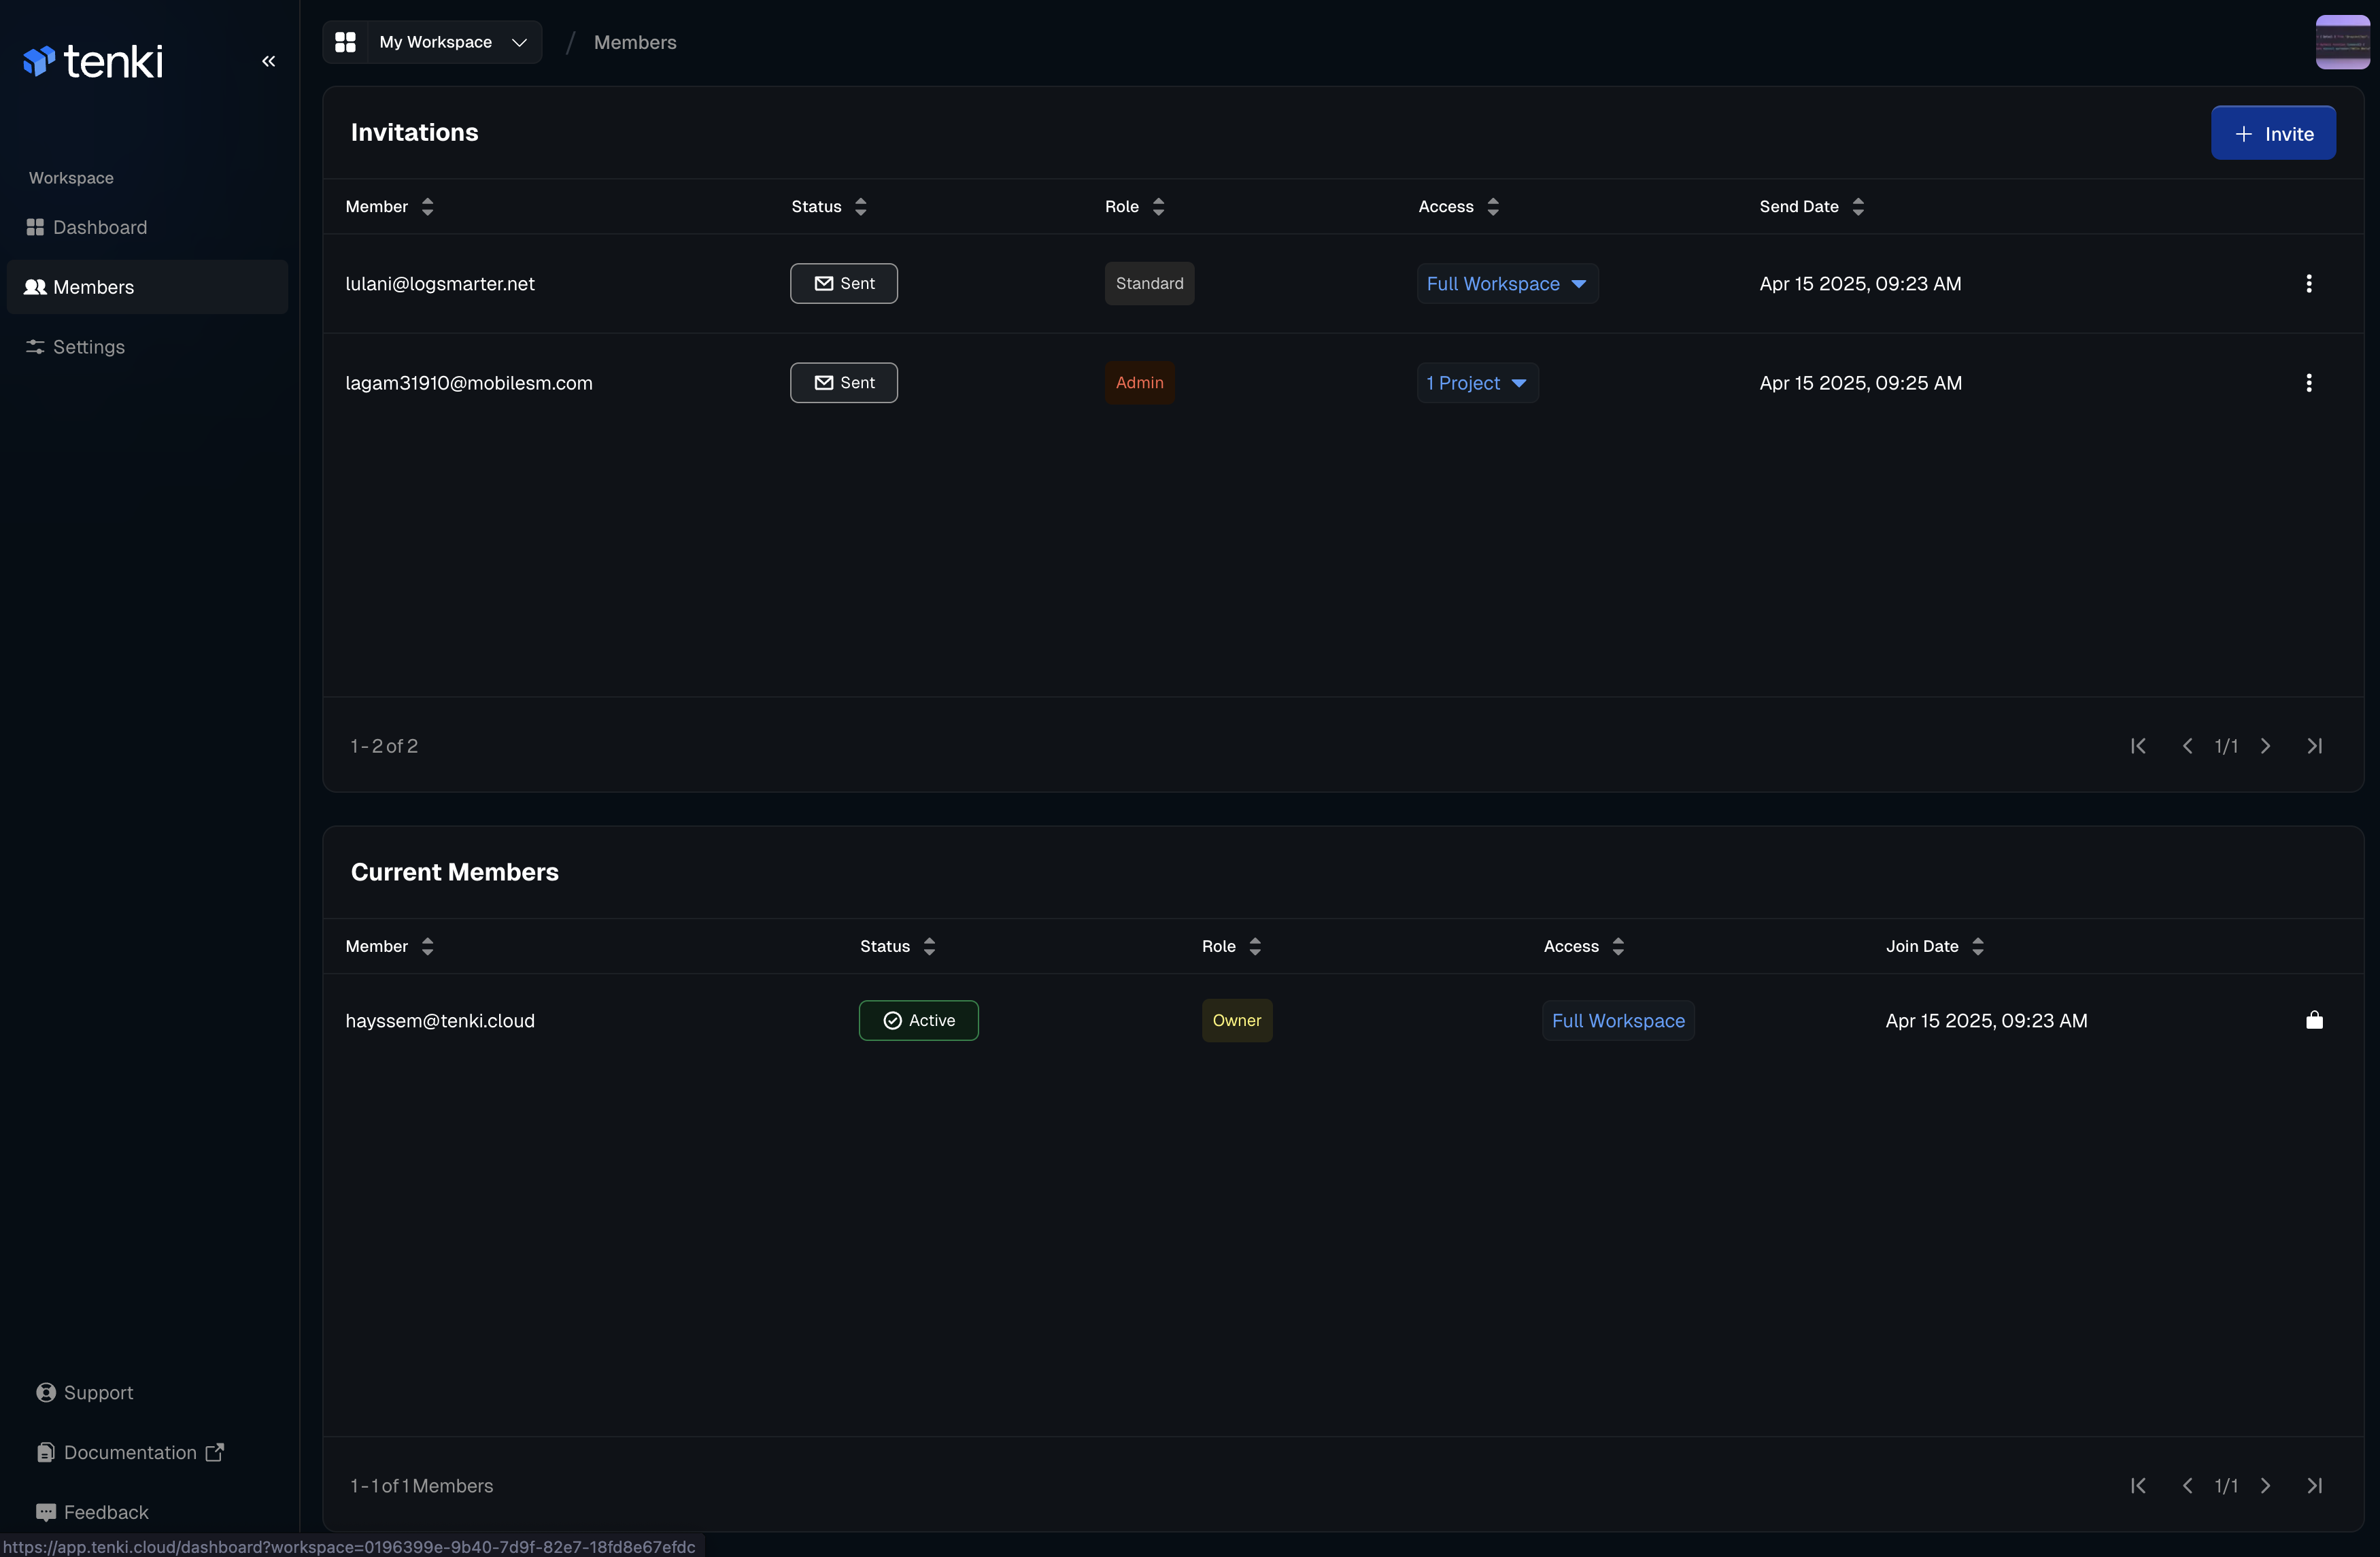
Go into the Members page
Enter the user information and select the role
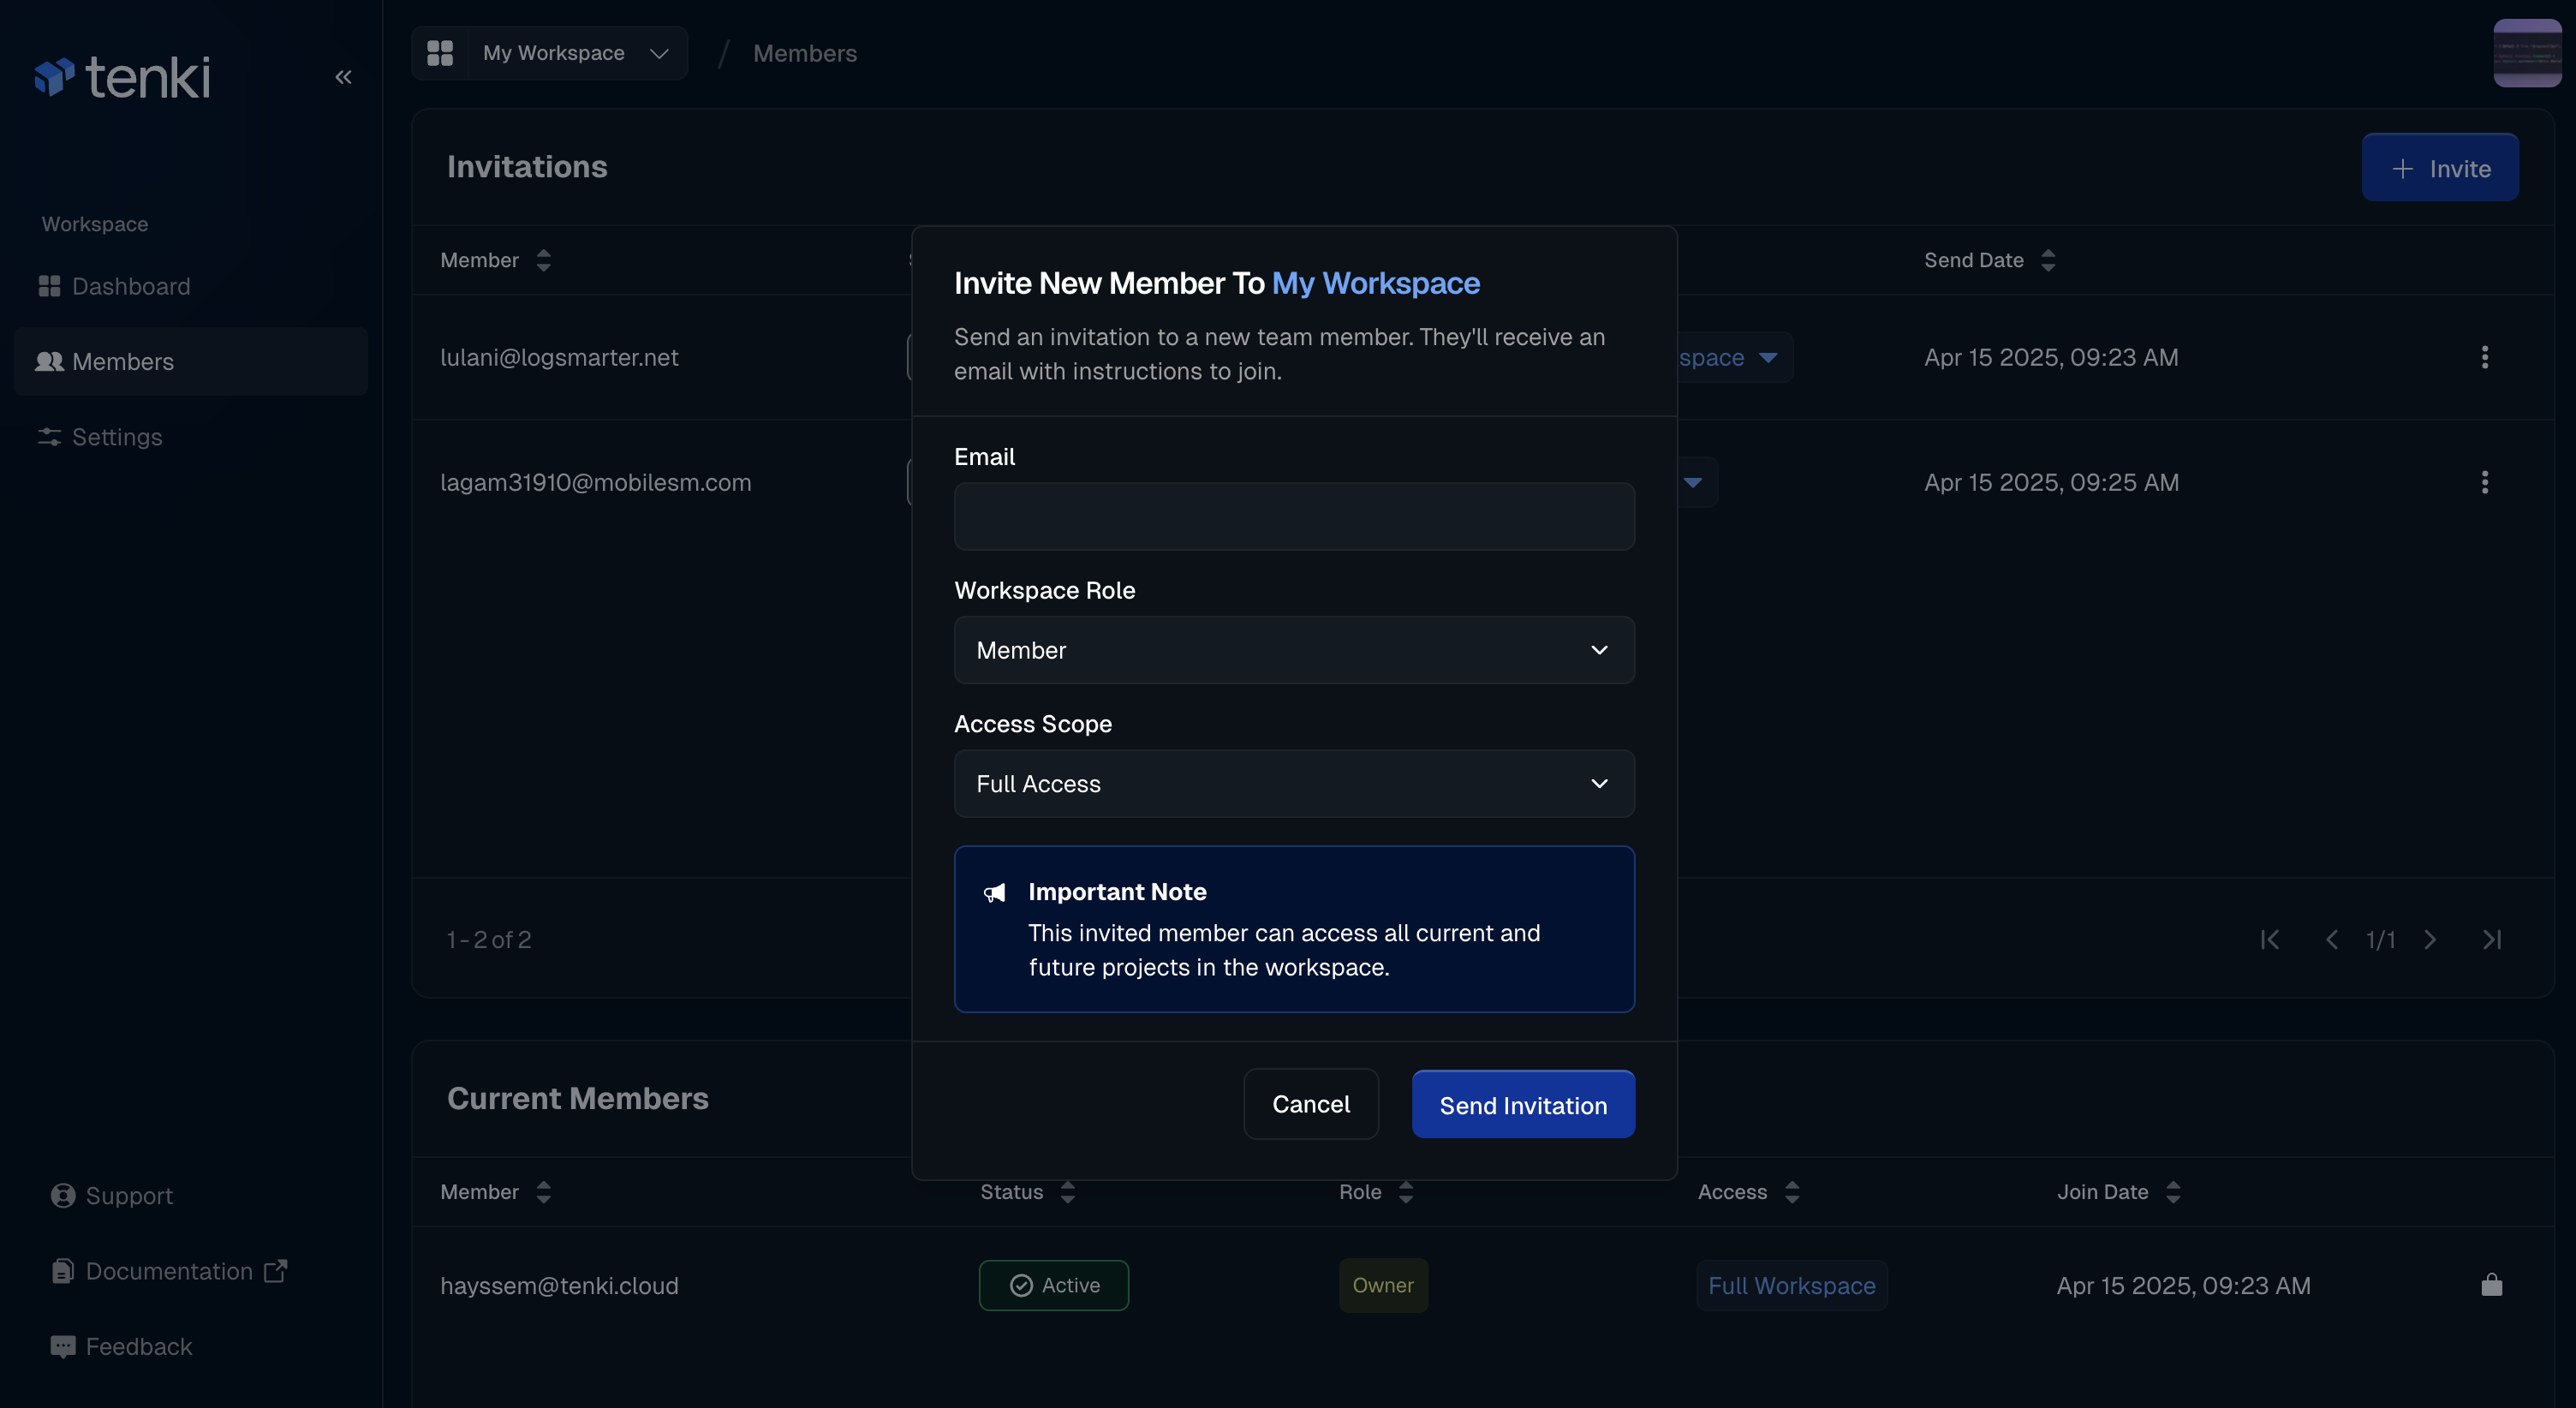
The user will complete onboarding and automatically receive the access level you’ve assigned.
How to manage existing Members
To manage or update an existing user's role, go to the Current Members table, click the Actions icon next to their name, and select Edit.
Settings
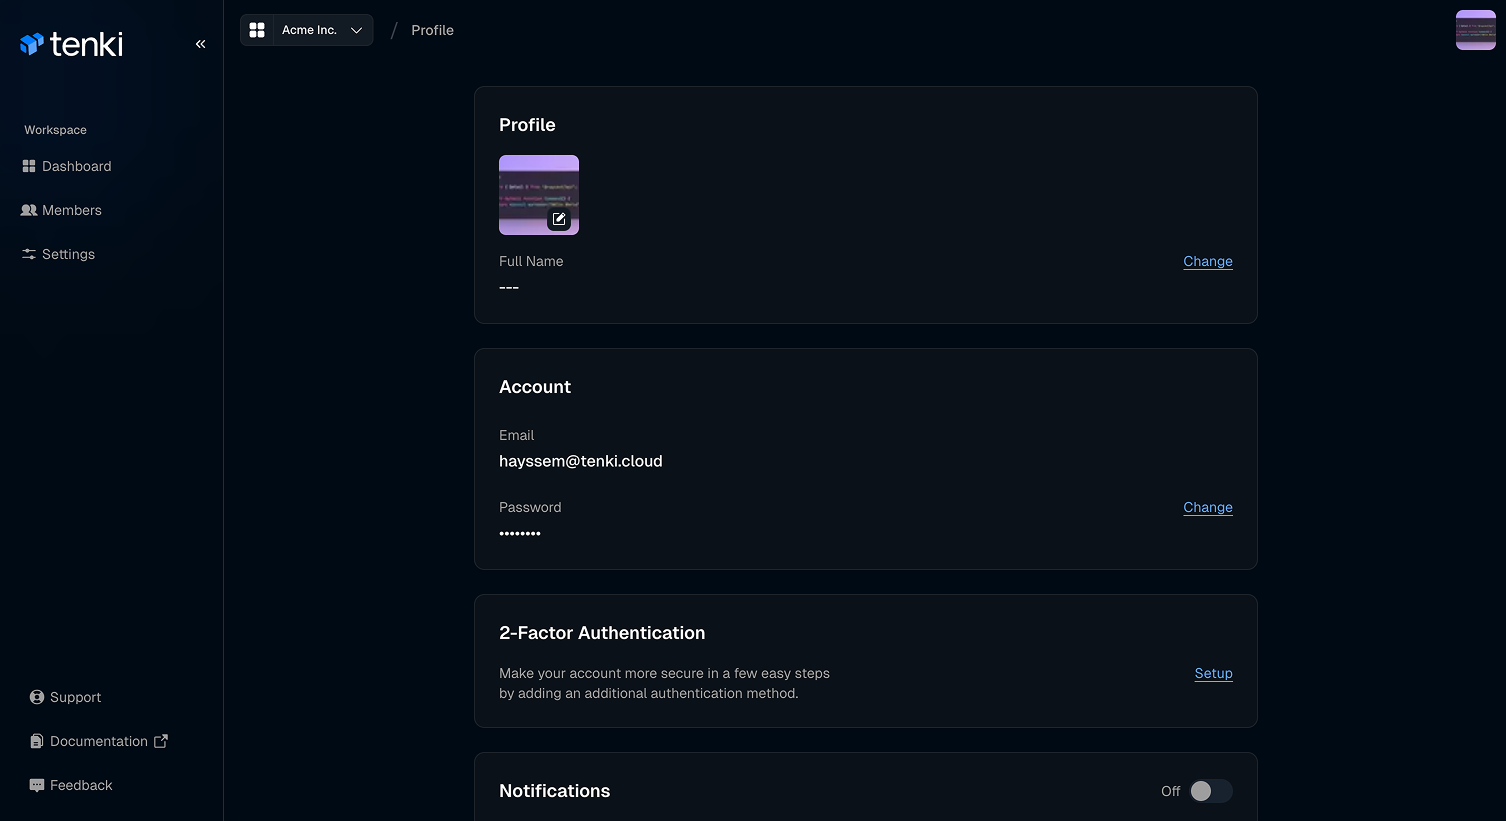
How to manage your account settings
In the Account section, you can set your full name for billing purposes, manage your password, and enable two-factor authentication (2FA). Please note that this email will be used for all communications from Tenki.
Find your Workspace ID
Open Tenki Cloud, select Settings in the sidebar, and copy the value in the Workspace ID field. This stable identifier may be requested by support. Normal Sandbox CLI and SDK requests infer the workspace from the API key and do not need this ID.
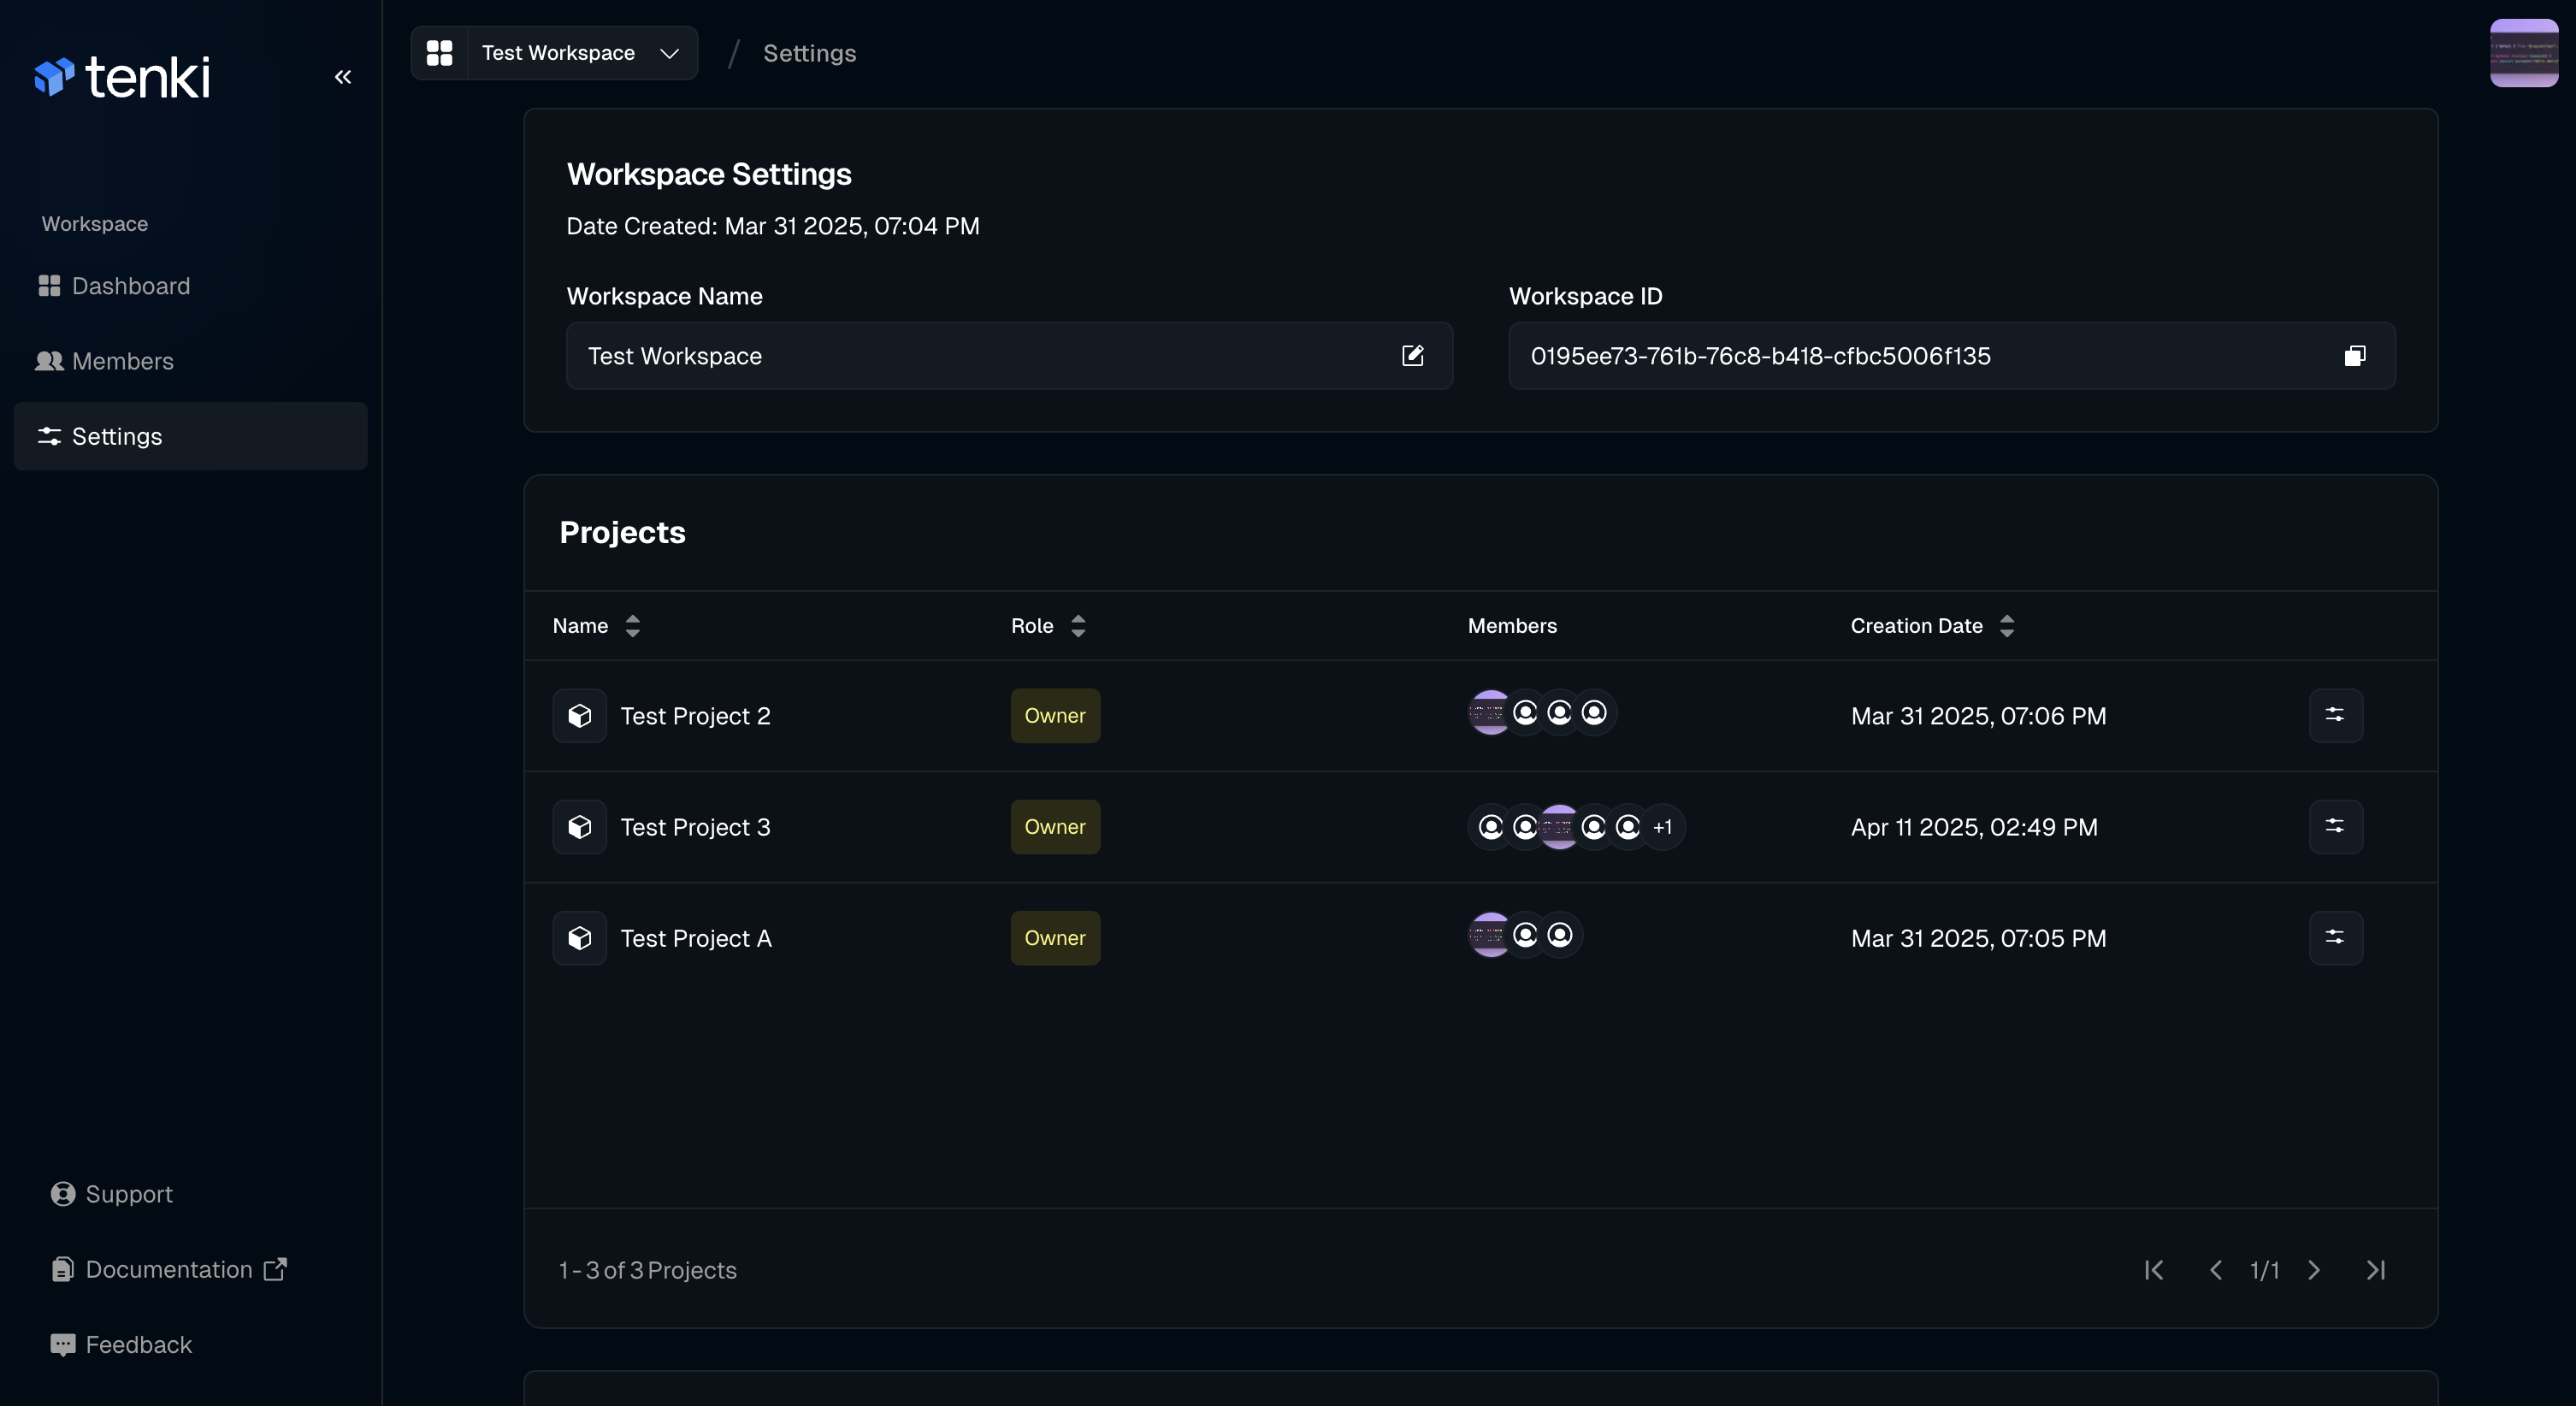
Workspace Settings also lets you rename the workspace and its slug, manage connected applications and repositories, and, depending on your role, delete or leave the workspace. API keys are managed separately; see Manage API Keys.
How to manage your projects
The Project Settings allow you to update the Project name and, depending on your role, either delete the project or leave it.